

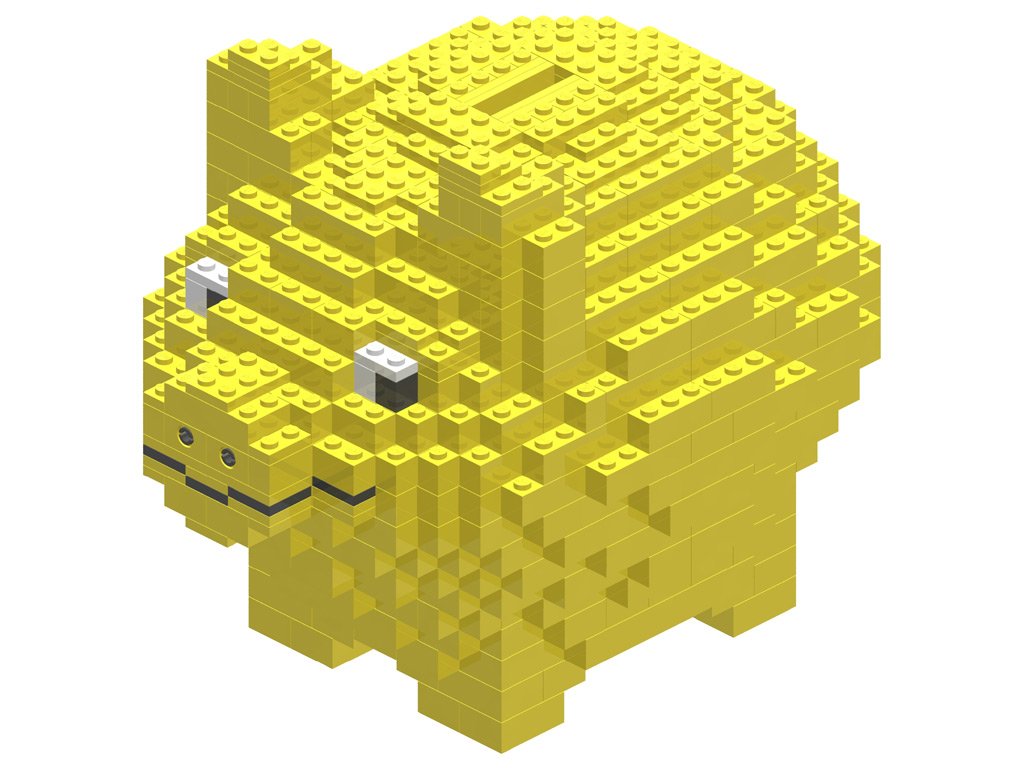
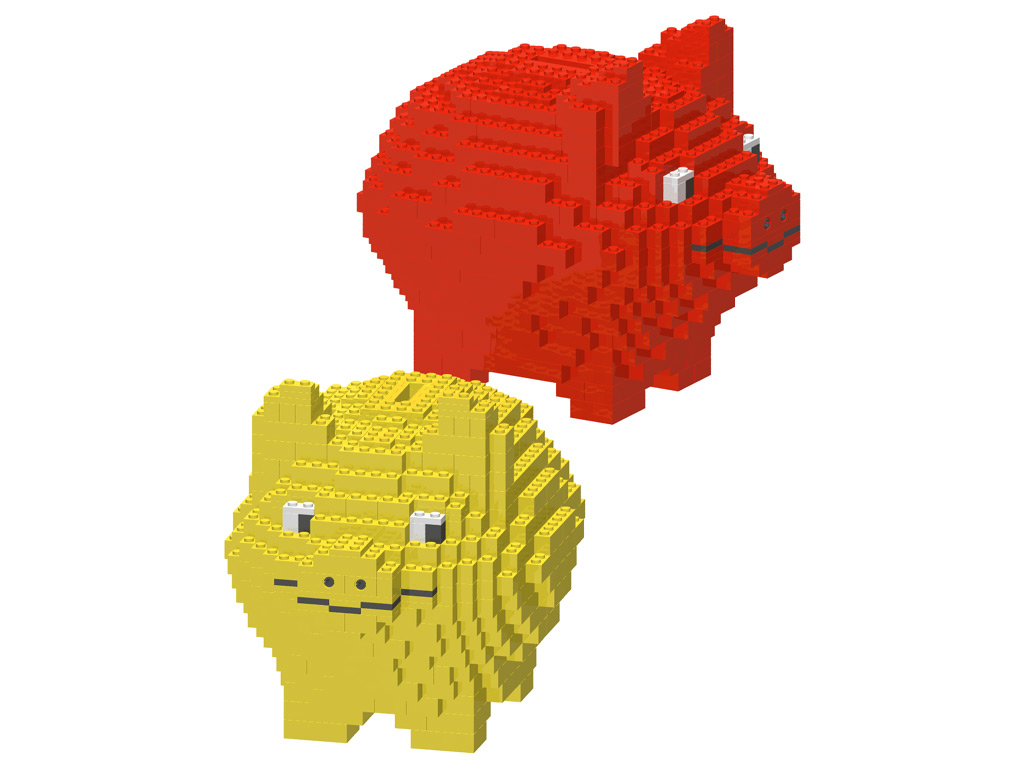
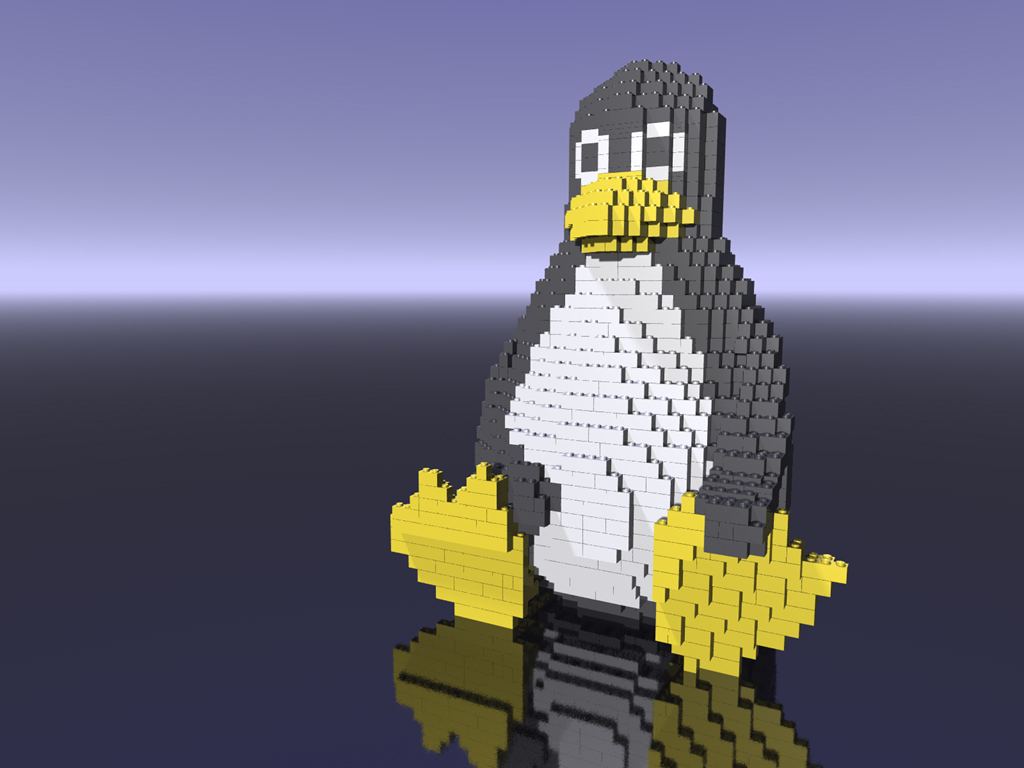
Once I published the instructions for the Piggybank and the Little Tux, I received a lot of e-mails regarding the production and sale of such building instructions. I would like to thank everybody for their praise once again. The following tutorial will answer these questions instead of replying to everybody individually. Almost all mentioned software products can be found under "software" when clicking on Links. Additional information to these softwares can be found in the book "Virtual LEGO – the official LDraw.org guide to LDraw tools for Windows" by Tim Courtney, Steve Bliss and Ahui Herrera. A description as well as a table of contents was put together by Moritz Hein at the homepage of Holger Matthes.
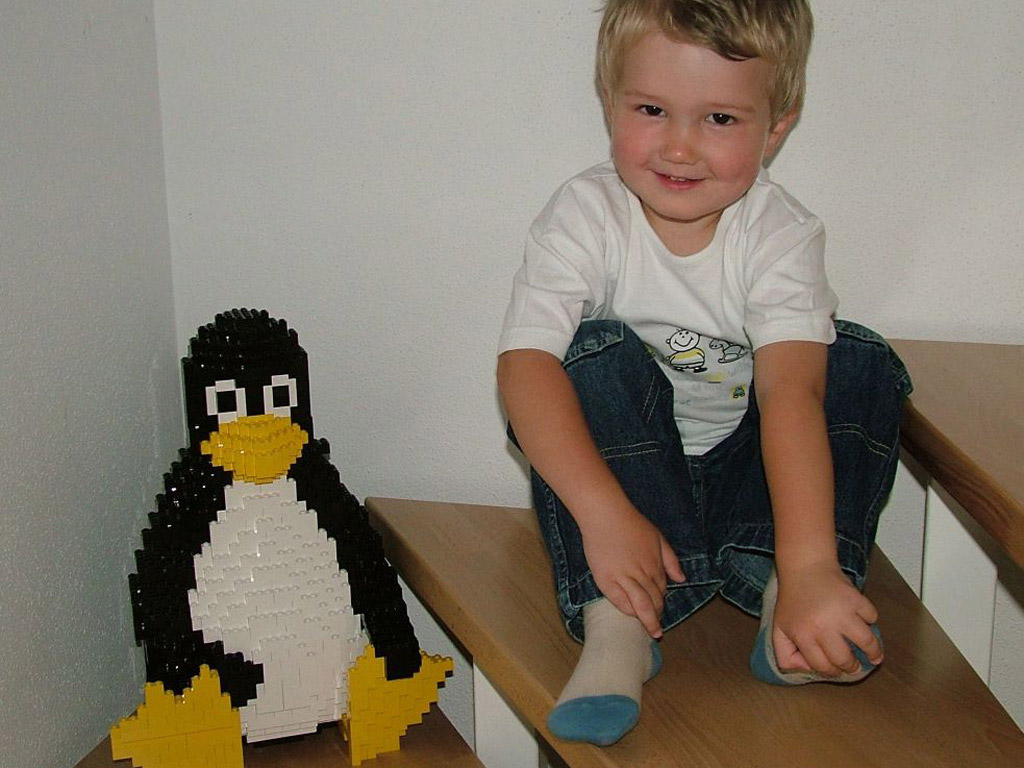
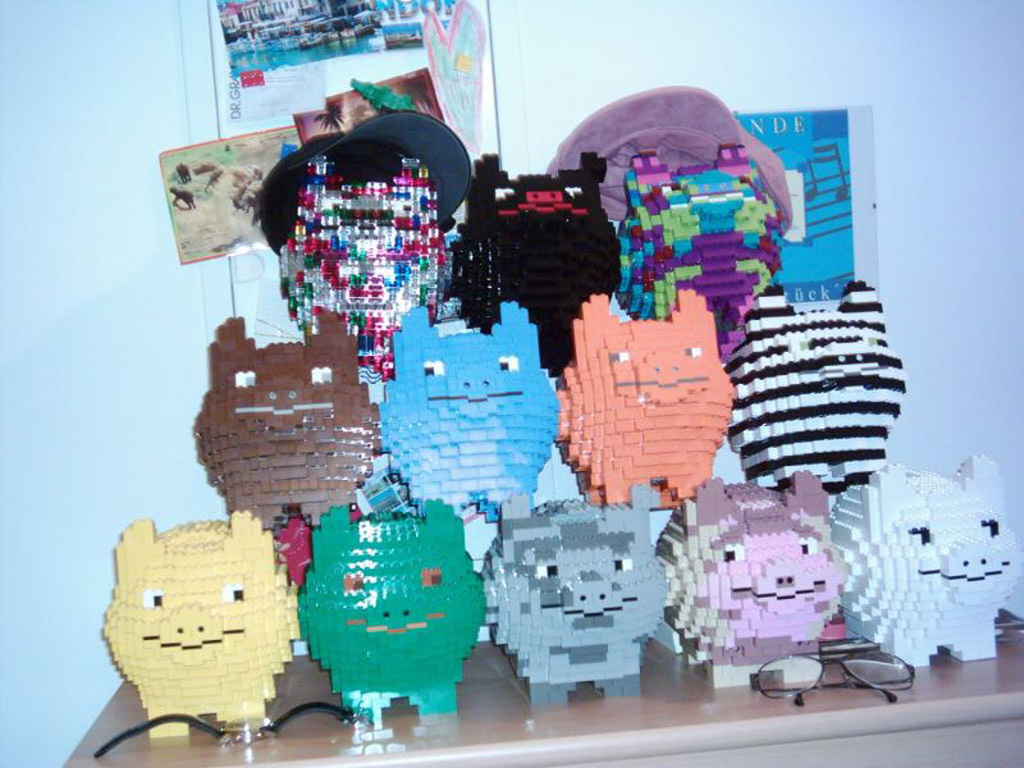
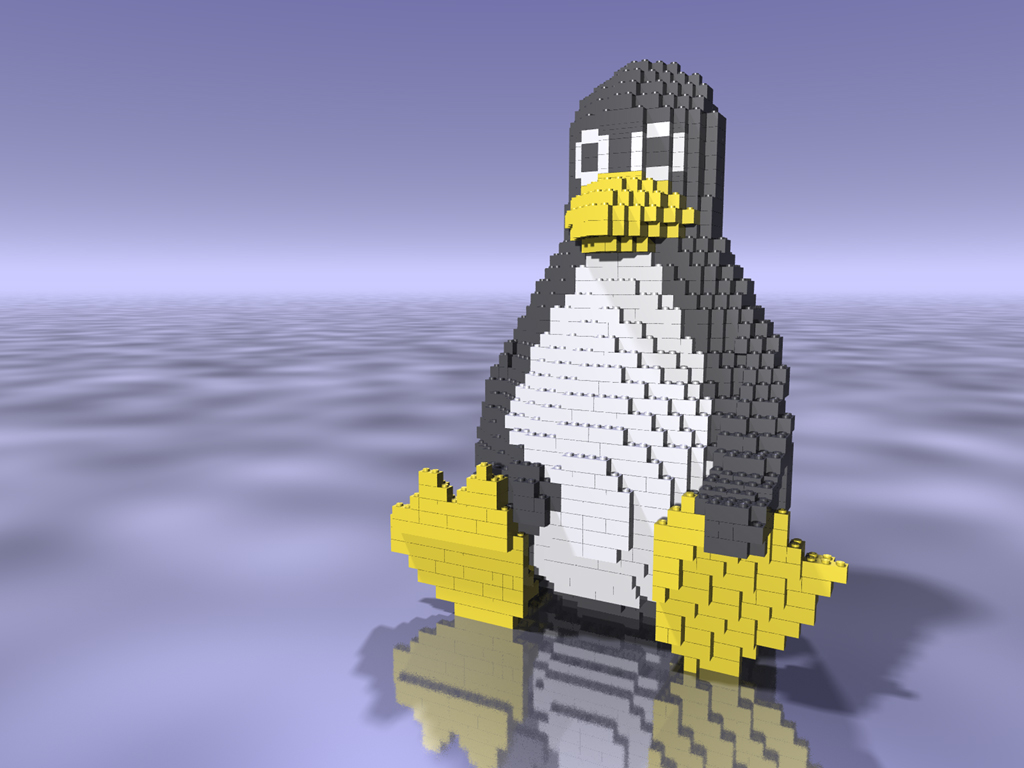
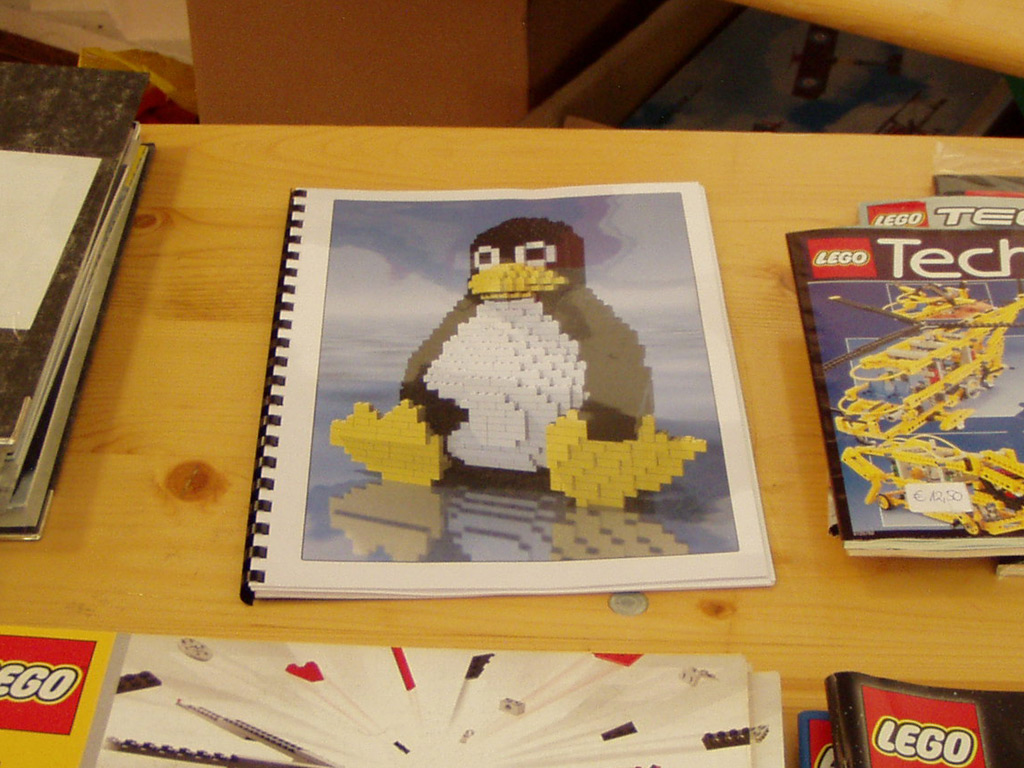
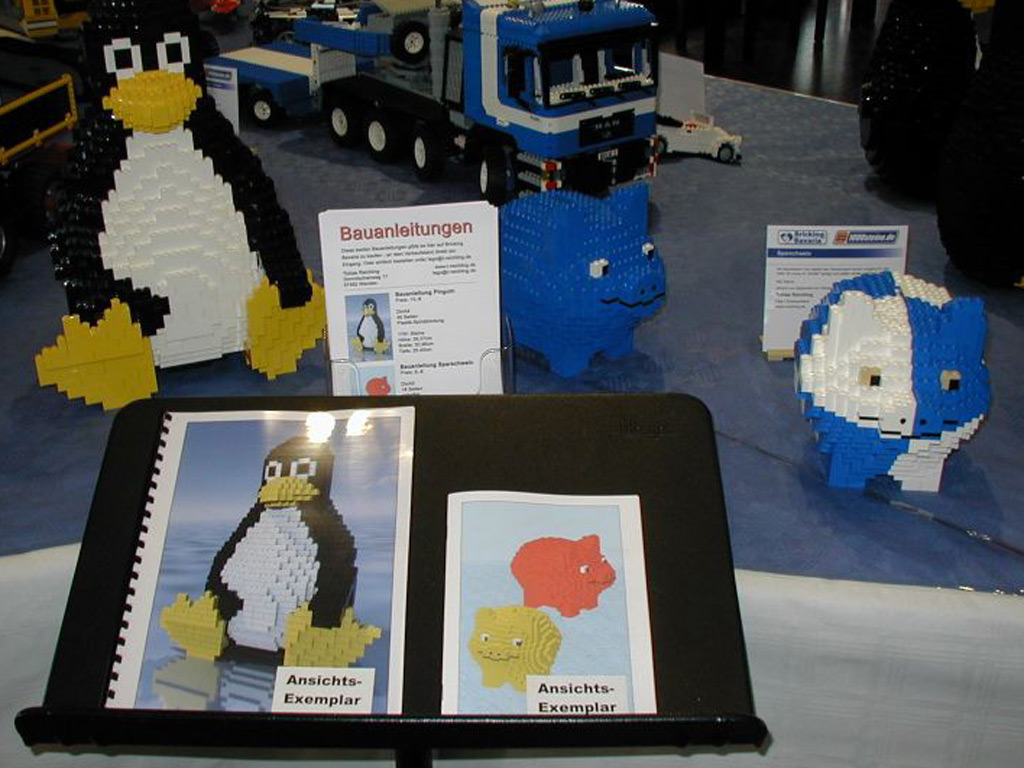
My reasons for creating building instructions are quite simple: Besides liking to work with the different software products, I think it is the utmost praise if other Lego fans, especially children, delight in replicating my models. I am especially happy to receive pictures of this. A few are depicted here:
 |
 |
 |
 |
 |
 |
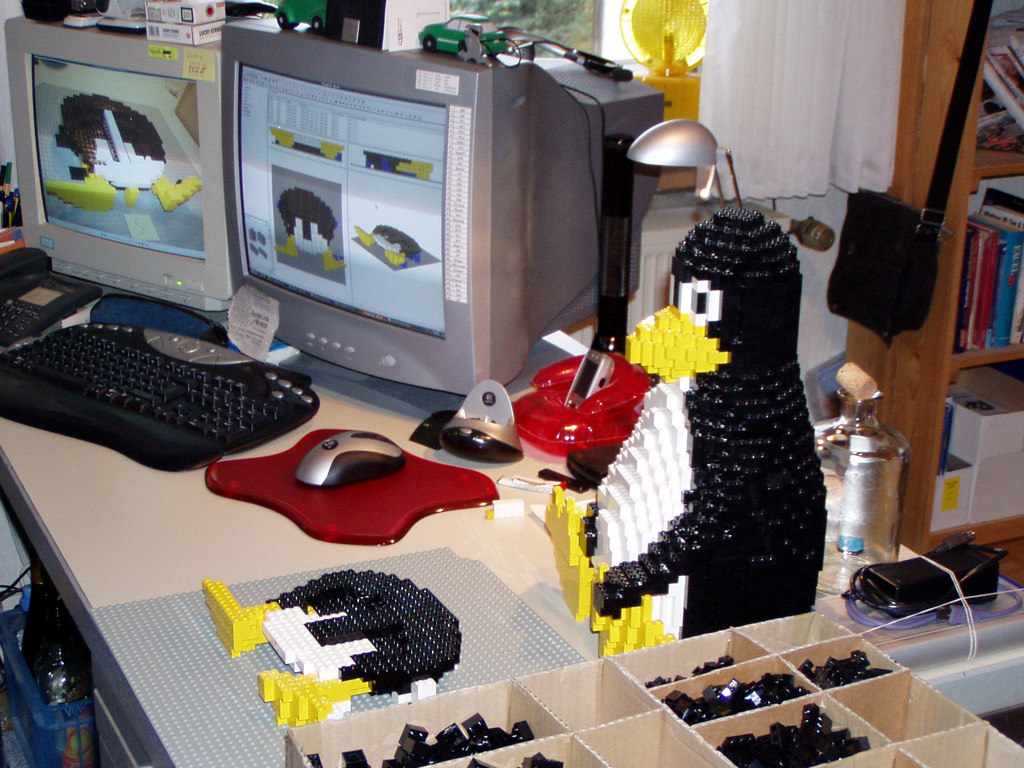
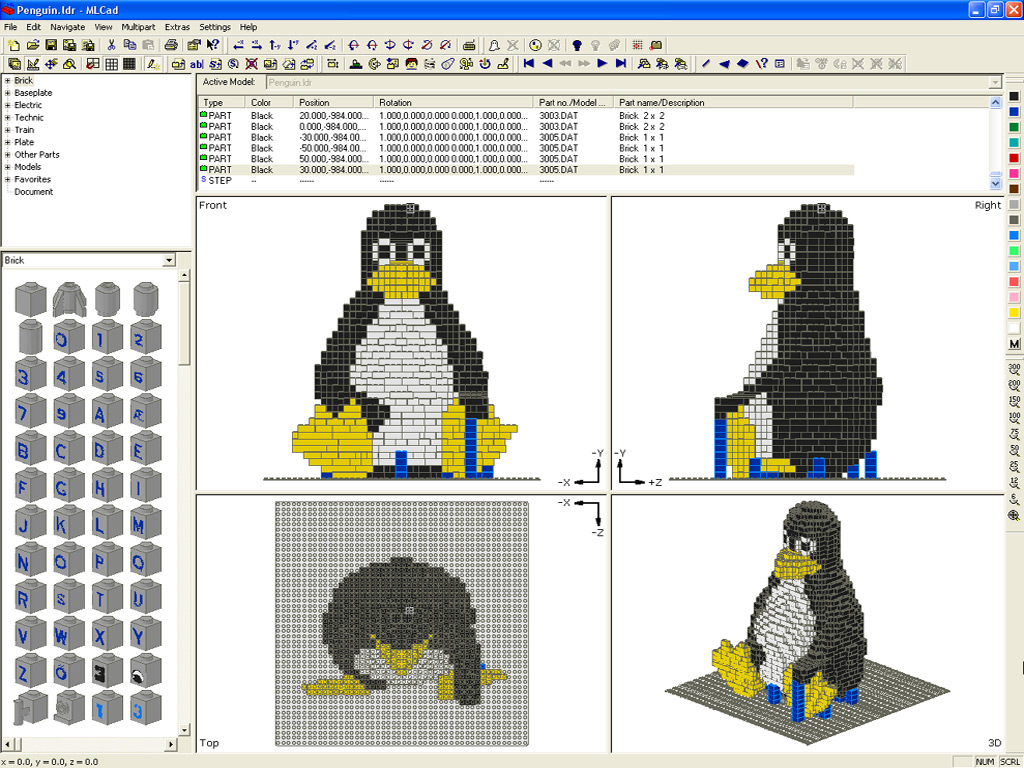
In the beginning, a digital version of the MOC is needed. MLCad is used for this. In order to prevent mistakes while building digitally, it is advisable to build the sculpture from real bricks at the same time and transfer each brick layer into MLCad. To improve the view throughout the construction process, LDview can be used.
Since I almost exclusively build sculptures, a traditional building view from an angular upper corner is not very helpful. Using Lpub allows for an instruction to be rendered in top view, but due to the photo realism contours (especially of light colored bricks) are lost easily. Due to this, I use the "Save Image(s)" – tool of MLCad. These are less complex, but provide a better view of the edges of the individual bricks of each layer. In order to get a top view, a rotation step of 90° around the x-axis needs to be inserted into the MLCad file in the very beginning.
Pictures will now be created in top view, but they do also show all underlying brick layers. This can be very confusing. Imagine a digital sphere, as soon as you have built across the equator, the individual layers get smaller and smaller, but you’ll still be seeing the whole diameter of the widest layer.
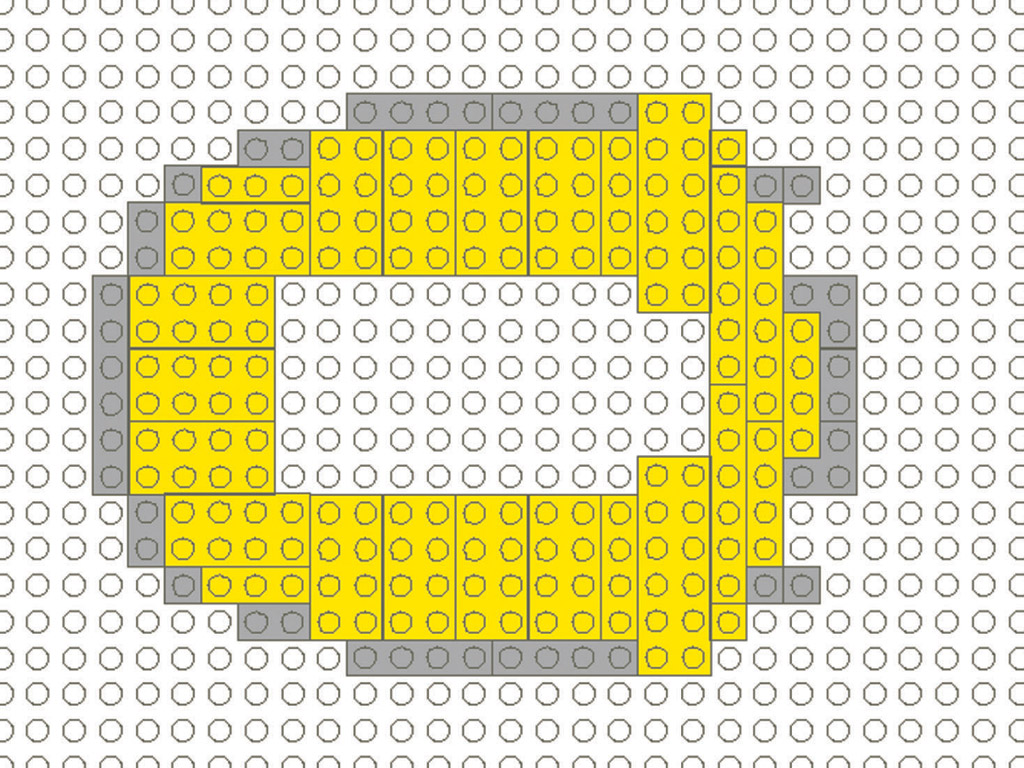
To eliminate the distracting layers, I create as many copies of the MLCad model as layers are contained. These are numbered. Inside the new MLCad files, all layers but the current and its underlaying layer are deleted. All bricks of the lower layer are changed to a color not appearing in the model (usually light gray). This provides a better orientation for the user of the building instruction since a layer already build is also shown. A picture of every layer in top view of the model is the first step to creating an instruction.
 |
 |
 |
Now the pictures for submodels (if used) and the part lists for the whole model as well as every step are still needed. These can be created fairly easily with Lpub, as described in the book mentioned above. Please consult it for further information. Since submodels are usually very small, no top view is needed and they can be created from the traditional angle with LPub. This is also mentioned in the book, but it can also be derived directly when using the program.
 |
 |
 |
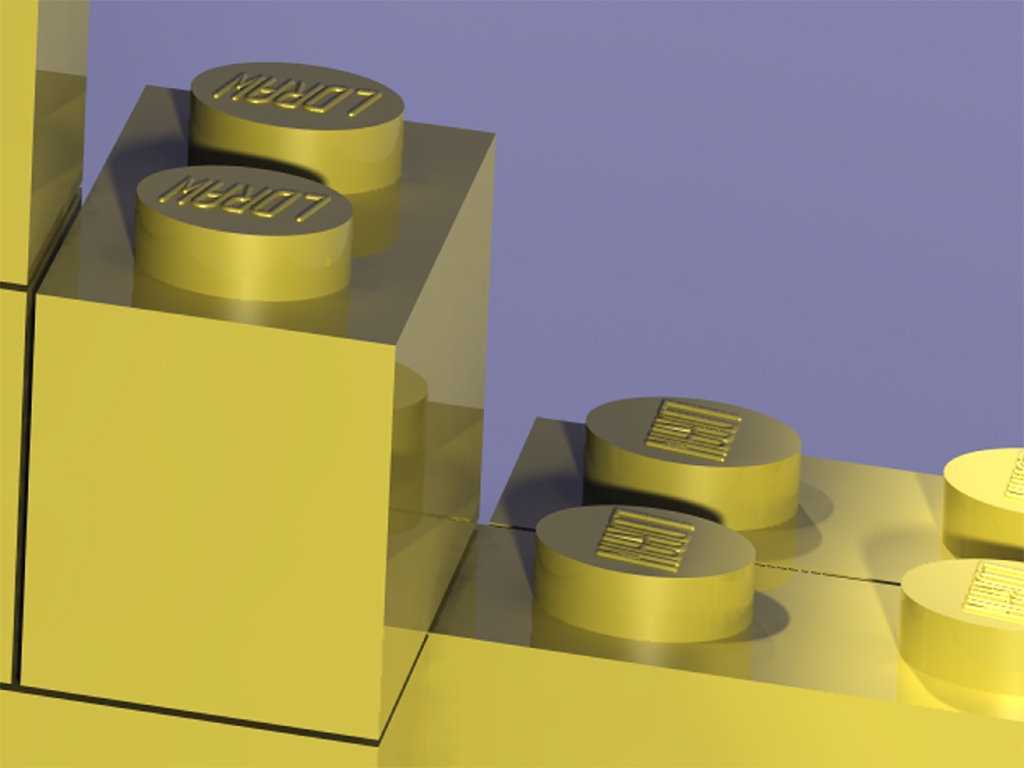
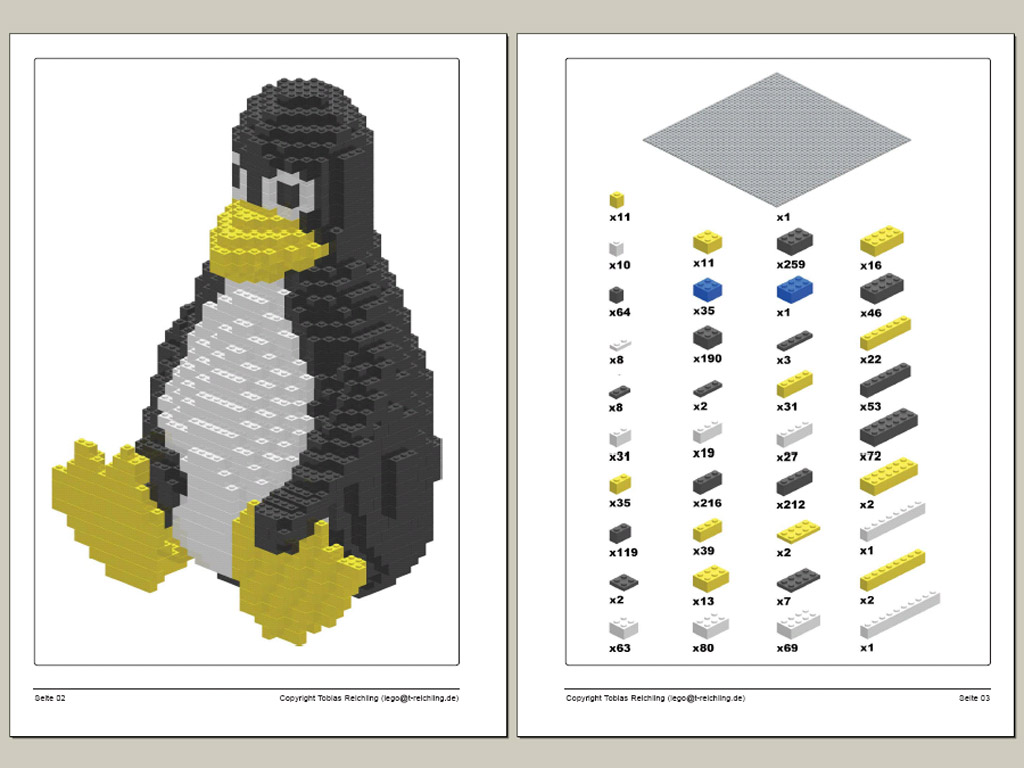
Besides the pictures in top view of every brick layer; part lists, pictures of submodels and pictures of the individual steps seen from the traditional angle have now been created. A picture for the cover and possibly the back are still needed. I like to create a cover showing a photo realistic picture and a back showing a schematic view of the sculpture. The latter allows for the user to be able to check the completed sculpture for mistakes. Both pictures are created using L3PAO, a graphic user interface for the tool L3P. The MLCad file can be opened with a little effort, custumized setting can be added and L3P converts the model in a POVRay file. The rendering software is started automatically.
To display schematic views, I choose a fairly big space in between the bricks (seam width), as well as a white background and a white base. The remaining settings do not need to be changed.
The cover consists of a POVRay file made with the standard settings. Afterwards, I open the new file in POVRay and change settings such as light source, camera settings, quality, radiosity, background, etc. directly in the source code. It needs a bit of time to get used to POVRay code, tutorials for this can be found on the Internet. Personally, I was lucky to find a fellow student who showed me how to work with POVRay rather quickly. Once I started reading tutorials and rendering sample images, I got pretty good results.
 |
 |
 |
 |
 |
 |
Once the picture for the cover and the back are created, all pictures needed have been generated. These have to be put together to a decent building instruction. This composing is done with a desktop-publishing (DTP) software. Most of these programs use CMYK color space . Due to this, all generated images must be converted from RGB to CMYK. Picture editing tools (e.g. Adobe Photoshop) can be used for this. There are also free ware tools (e.g. Gimp) available online.
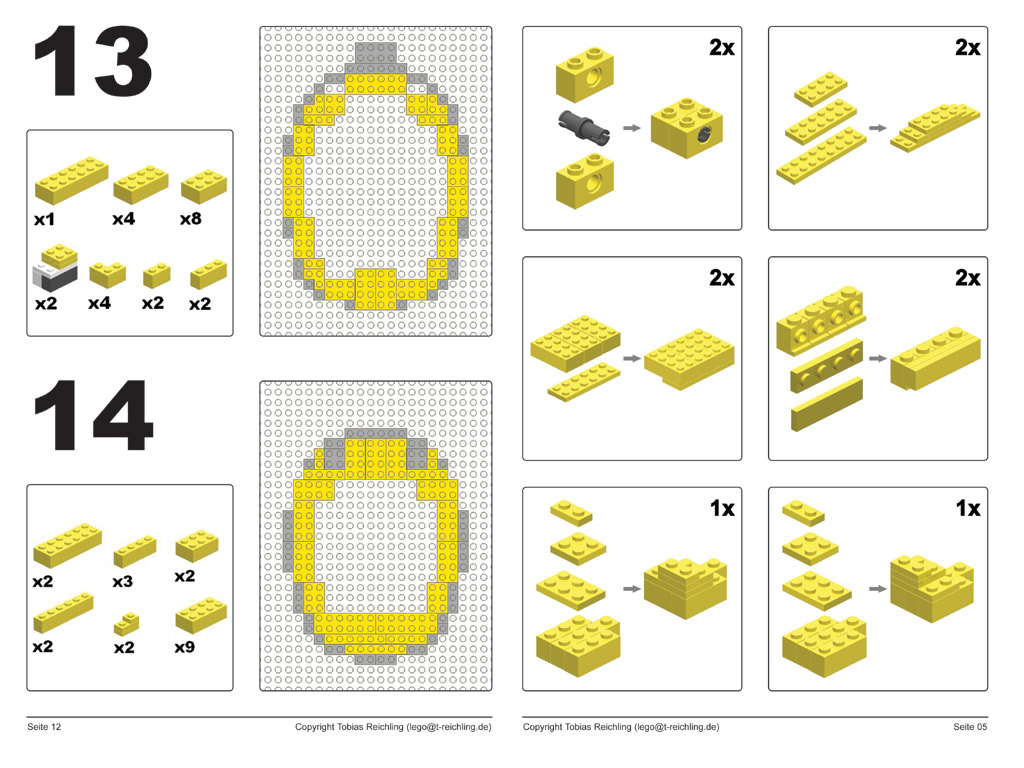
The composition of the building instructions is similar to the ones made by Lego. The cover is followed by a judicial note, afterwards a list of all the parts as well as submodels needed in the construction process are pictured. Adjacent the numbered, individual steps are shown. Every individual step contains a list of the parts needed, the actual image in top view and an image in the traditional view for a better orientation. At the very end the already mentioned schematic view of the completed model is added. The individual arrangement of the pictures can of course be modified to your liking.
 |
 |
 |
 |
 |
 |
I am asked again and again if I would publish my building instructions online for free. The short answer to that is "No". Building instructions published online can easily be copied. Often people do this in a very low quality to sell them e.g. through online auctions. I really enjoy people building my sculptures, but I do not want other people to gain money from my creativity. Because of this I try to keep all means of abuse at bay. Apart from that I set a high value on style and quality.
Both building instructions are produced almost exclusively through professional digital color printing. Only paper with a high quality, e.g. from Mondi is used. The latter weighs 100g/cm2 and is classified as IQ selection smooth. The paper has a very bright surface. It also provides very good running characteristics and a high opacity. Thus pictures can be printed on both sides without shining through on the reverse side.
After printing, the sheets are bound or stapled. A building instruction should keep open easily, ruling out adhesive binding. The instructions for the little Tux was put together using plastic spiral binding due to its paper size (A4) and the high number of pages (48). Since having a bookbinder take care of this is very expensive (€ 4 per instruction), I decided to buy my own binding machine. The acquisition costs are still high, but since I am using it for other purposes as well, buying it has paid off by now. Spiral binds, transparent covers and sheets for the back can be found at Staples and similar stores.
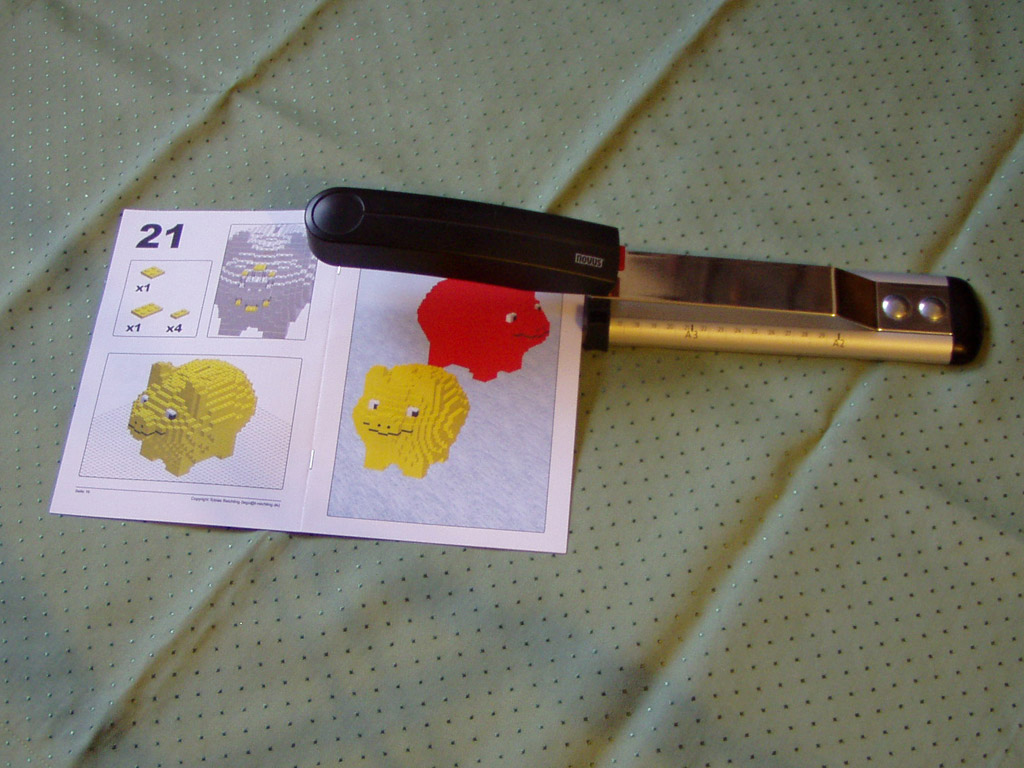
The building instruction of the piggybank consists of 16 pages. It was made in the size A5. A spiral binding would be a little exaggerated, so I decided to staple it. To do this, I got a stapler from Novus, the Harmony Novus B 17. It was quite expensive, but well worth it. It is very stable and easy to use, fits for pages of a depth up to 30 cm and up to 40 pages can be stapled together. It fits staples of almost all standard sizes.
 |
 |
 |
 |
 |
 |
Last modified on 2009/11/29 - Copyright 2000-2021 - Tobias Reichling
XHTML 1.0 Validator, CSS Validator, optimal representation in Mozilla Firefox